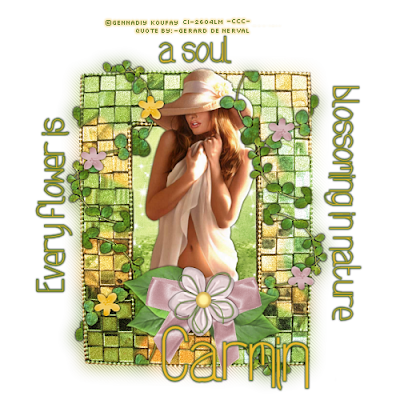
 This tutorial is for those that have a working knowledge of PSP. This tutorial was written by me on the 22nd day of September 2010 and any resemblance is purely coincidental. I used PSP 9, but any version should work. I do not allow my tutorials to be translated and please do not claim them as your own. If you would like to share the tutorial please send a link to my blog.
Supplies Needed:
• Tubes of Choice: I'm using the work of Genniday Koufay which you can purchase here
• Scrap Kit: I'm using the PTU Midsummers Dreams kit by StacieCakes which can be purchased here.
Lets Begin!!!
1. Open a new image 600 x 600
2. Now open SC_MSD_Frame1.png and SC_MSD_Frame1.png resizing both by 75%
3. Paste both as a new layer
4. With your selection tool feather set to 10 or higher draw areas of lines or circles on the top layer
5. Hit delete on your keyboard
6. You should now have the two tone effect on your frame
7. Merge all layers visible
8. Open Leaves 2 and resize by 20%
9. Paste as a new layer on our working image
10. Erase bits and pieces to make it look like its wrapped around our frame ( repeat steps 8-10 to your liking)
11. Open paper of choice (I used SC_MSND8.jpg)
12. Paste as a new layer on our working image
13. Resize by 50%
14. Send to bottom
15. Crop off excess pieces
16. Add your tube at this time
17. Now you can add the patch of grass behind your tube to make it have the meadow behind look
18. Open flowers 1 and 2 and resize both by 7% (or to your liking)
19. Pasting them as new layers place to your liking
20. Repeat until you are satisfied with your flowers
21. Add any additional elements to your liking at this time
22. Add your copyrights and text
No comments:
Post a Comment