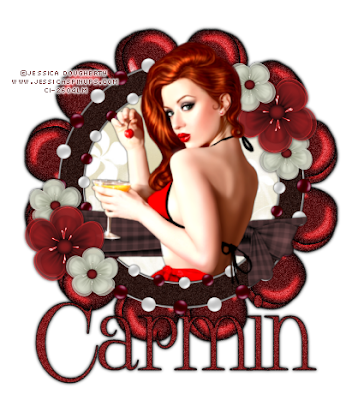
This tutorial is for those that have a working knowledge of PSP. This tutorial was written by me on the 22nd day of September 2010 and any resemblance is purely coincidental. I used PSP 9, but any version should work. I do not allow my tutorials to be translated and please do not claim them as your own. If you would like to share the tutorial please send a link to my blog.
Supplies Needed:
Tubes of Choice: I'm using the work of Jessica Dougherty which you can purchase here
Scrap Kit: Im using the PTU Cherries and Fairies kit by Mystical Illusionz which can be purchased here.
Shall we Begin?
1. Open a new image 600x600 (we can resize later)
2. Open MIZ_JD_frame1.png
3. Resize by 50%
4. Paste as a new layer on our new working image
5. Using your magic wand with the feather settings at 2
6. Click in the center of the frame
7. Paste paper of your choosing as a new layer
8. Selections—Modify expand by 2
9. Selections—Invert
10. Hit delete on your keyboard
11. Move this layer below our frame
12. Now using the magic wand click the outer frame ring
13. Add a New raster layer
14. At this time fill with a color from your tube
15. Move this layer to the bottom
16. Add noise 20%
17. Open your Tube
18. Copy and paste as a new layer
19. Place to your liking (resize if Necessary)
20. Add a drop shadow to your frame now
21. Also drop shadow your tube if you would like
22. Open twisted Ribbon of choice
23. Paste as a new layer on your working image
24. Now the choice is yours you can leave it over the whole tube or you can
25. Crop your tube out to your liking
26. Open cherries of choice resize by 50%
27. Paste as a new layer ( depending on your tag you may need to resize a little more)
28. Image flip
29. Muras Meister Copies with the settings of encircle
30. Paste some flowers to your liking
31. Merge all visible
32. Add your copyrights and text at this time
That's it we are done! Hope you like your results!
No comments:
Post a Comment