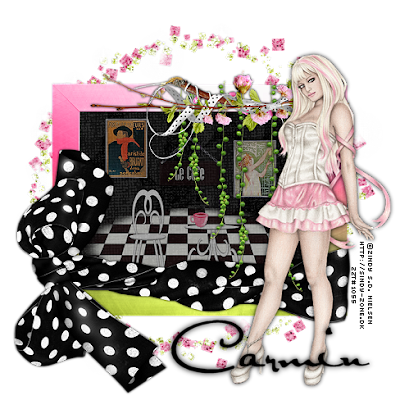
This tutorial is for those that have a working knowledge of PSP. This tutorial was written by me on the 15th day of October 2010 and any resemblance is purely coincidental. I used PSP 9, but any version should work. I do not allow my tutorials to be translated and please do not claim them as your own. If you would like to share the tutorial please send a link to my blog.
Supplies needed:
• Tube of Choice: I am using the artwork of the talented Zindy Nielsen which you can purchase from Here
• Scrap Kit of choice: I am using the PTU Paris Kit from A Taggers Scrap which you can buy from here.
Lets Begin:
1. Open a new image 600 x 600
2. Open frame 5.png and resize by 75%
3. Paste as a new Layer on our new working image
4. Click in the center of our frame
5. Selections- Modify- Expand by 15
6. Open paper of choice and paste as a new layer
7. Selections- Invert
8. Hit delete on your keyboard one time
9. Move this layer below our frame
10. Open deo branch and resize by 75%
11. Paste as a new layer on our working image
12. Move right edge up against the right side of frame
13. Open wrap6 and resize by 75%
14. Paste as a new layer and move to the bottom of our frame
15. Open frame3a.png and paste as a new layer
16. Send to the bottom
17. Open lecafe and resize by 50%
18. Move below our frame layer
19. Open your tube at this time
20. Paste as a new layer
21. Place to your liking
22. Add your copyrights at this time
That’s it rather quick and simple… yet elegant
No comments:
Post a Comment